Ever found yourself scrolling through social media, seeing one too many selfies? We've all been there. But have you ever thought of turning everyday selfies into creative self-portraits? A rainy day or a lull between shoots can become an opportunity to refine your photography skills, and perhaps discover a new form of creative expression. Who better to be your subject than the most cooperative model you know—yourself? To help kick-start your journey, we’ve put together ten tips.

When starting your self-portrait journey, keep it simple. Opt for a blank wall in your home or a simple textured background outdoors, like a brick wall. This allows you to be the focal point of your composition, emphasizing your personality and style.

Sticking to simplicity, start with natural light so you can focus on composition, posing, focus, and everything else. Try standing near a window during golden hour or finding some open shade outdoors for easy and flattering portrait lighting. These both create soft shadows and bright catchlights in the eyes while avoiding dark under-eye circles: instant beauty filters.
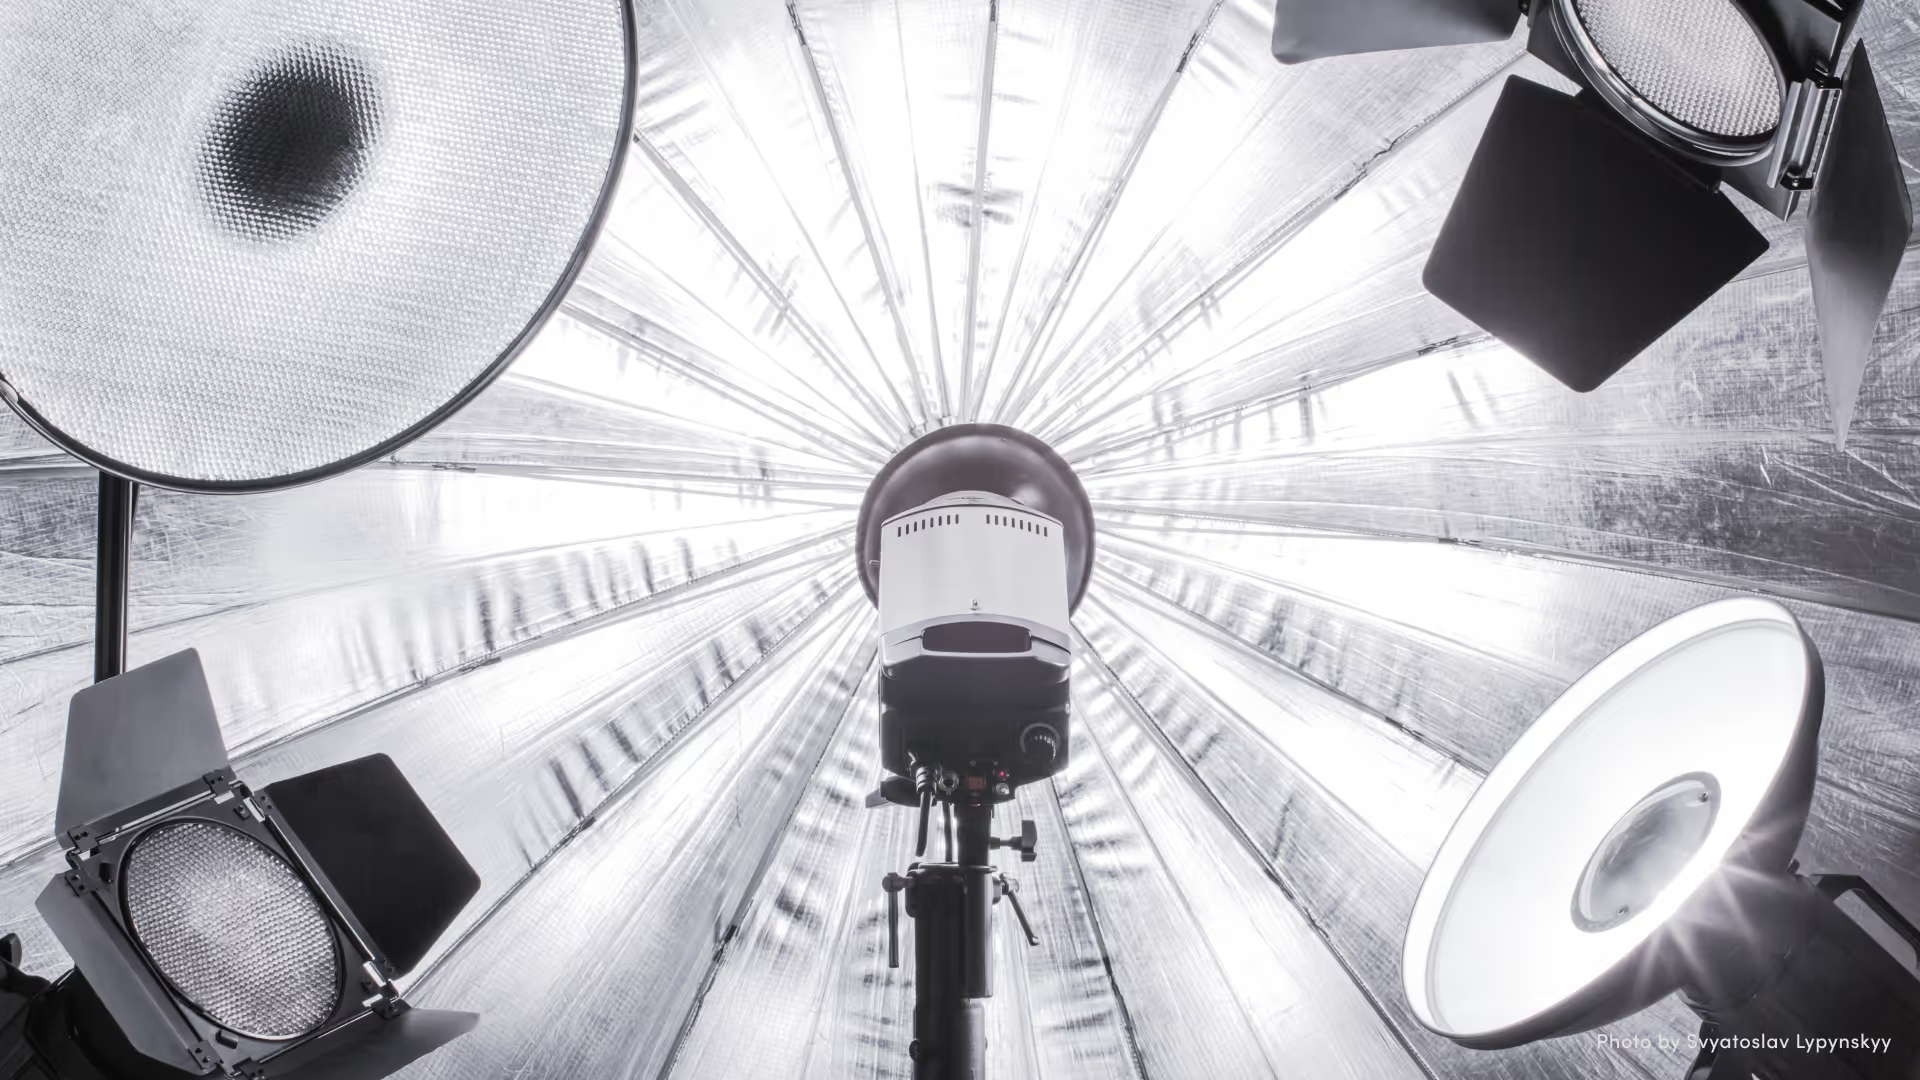
As you advance, try experimenting with advanced lighting setups and techniques such as two-point lighting or a background separation light. Try playing with homemade grids, gels and white balance settings, short and broad lighting, and anything else you’re curious about. See if you can reverse engineer the lights in portraits you admire!

While autofocus is a handy assistant, you might not want to shoot at a higher aperture like f/8 to ensure it nails focus on your eyes. If you want to create a dreamy effect with a shallow depth of field, how do you keep the focus from landing on your ear by accident?
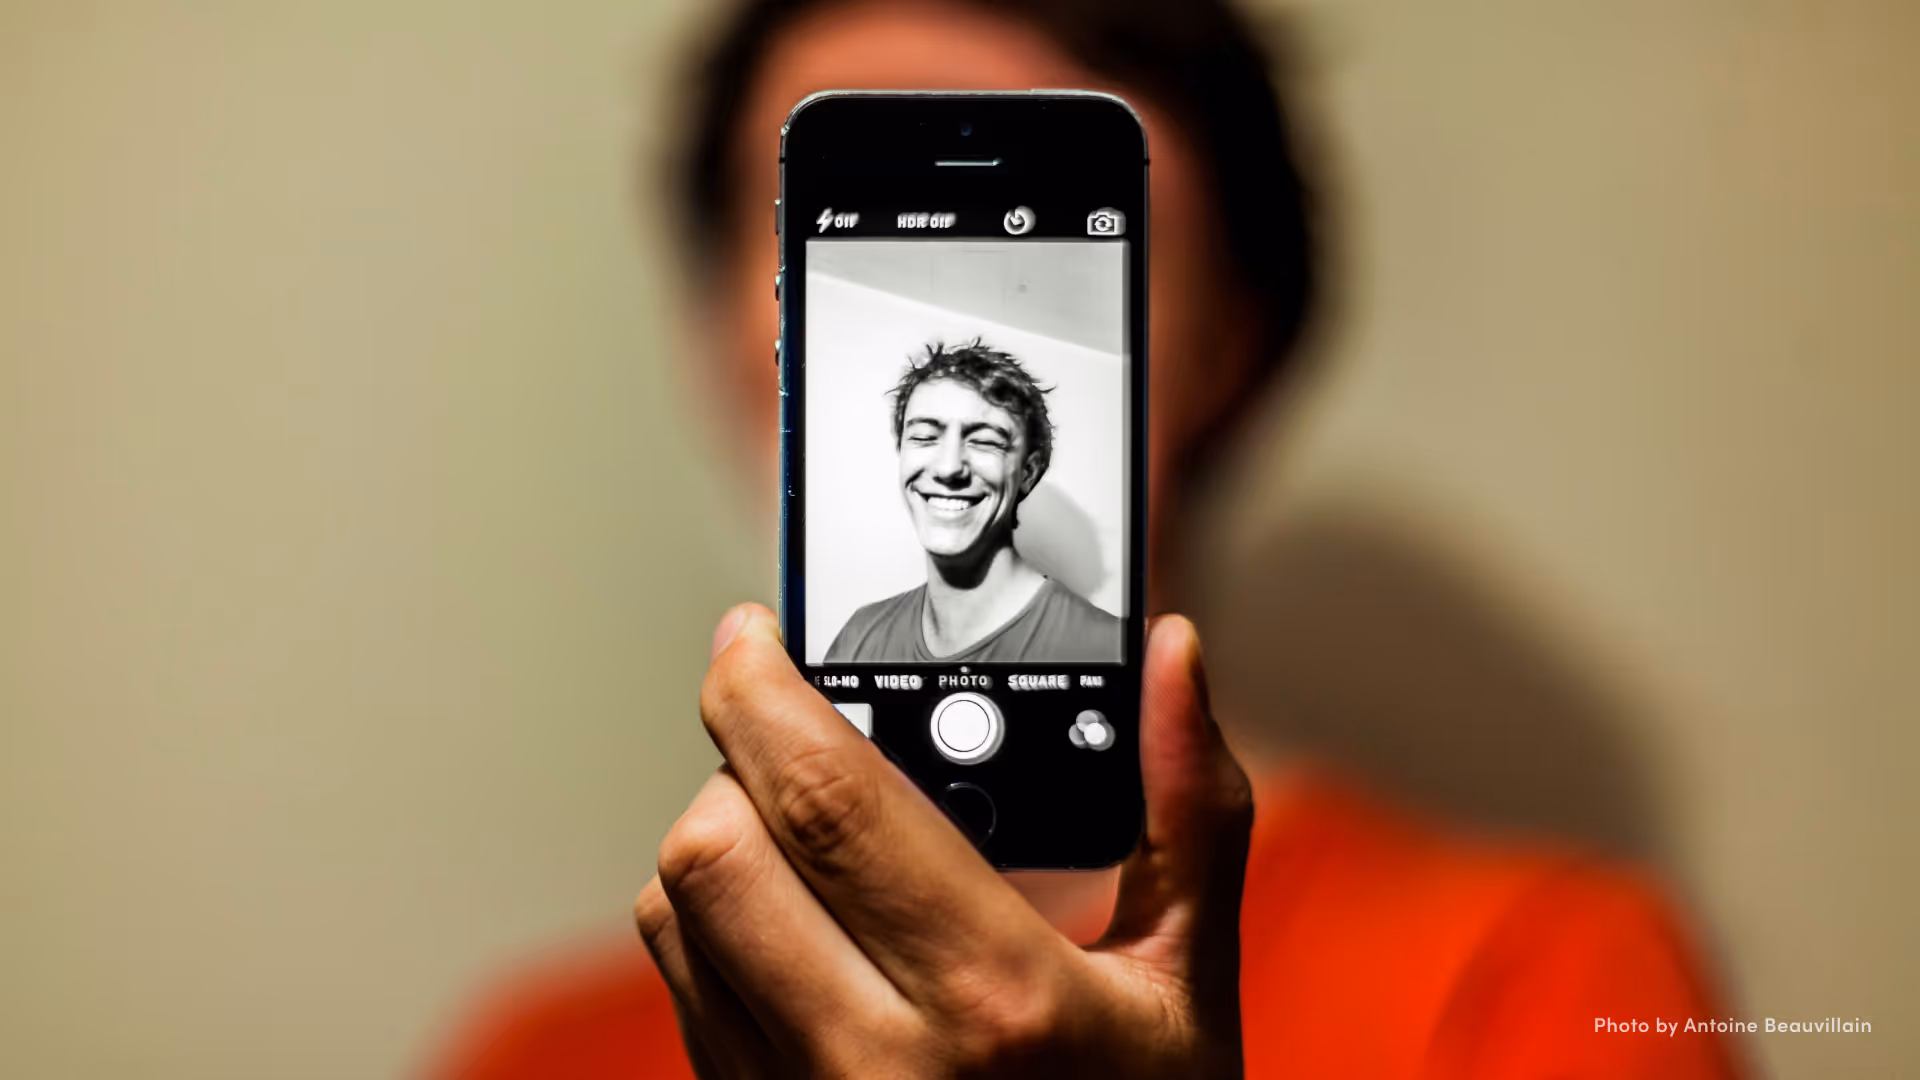
No remote trigger? No problem! Use your phone or camera's built-in self-timer as a convenient alternative. Start with 30 seconds so you don’t feel rushed running from camera into frame, and you’ll have plenty of time to set your pose. If you get tired of the extra cardio, consider the array of remote triggers available in the market—even for smartphones!
If you don’t have a tripod, use a table, a counter, a stack of books—anything that’s stable and level.
Choosing the right lens is crucial for achieving your desired composition. Wide-angle lenses help in confined spaces while shorter focal lengths, like 50mm or 85mm, work wonders for close-up portraits. If you have the space, longer telephoto lenses can help separate you from your background

Visualize the outcome, research and experiment with poses, and let your self-portraits tell your story. Capture natural, relaxed expressions with the help of music, memories, and a few tricks of the trade. Try jutting your chin forward a bit without moving your neck for a more flattering jawline. If you have a habit of clenching your jaw, press your tongue to the roof of your mouth to relax it.
Instead of immediately checking a shot after each click, resist the temptation and go for comprehensive reviews after a series of shots. Adjust your posing based on the collective story told by your images and on what you like or dislike. Checking each shot can get in the way of the kind of spontaneity that makes portraiture great.

Go beyond the basics by introducing costumes, props, smoke bombs, and diverse environments into your self-portraits. Tell compelling stories through your images, injecting a dose of creativity into each frame.
Don't shy away from the editing room. This is a chance to try those filters and actions that look amazing but might not work for your clients. Explore the art of compositing to enhance your portraits further, seamlessly blending elements to craft the story you want to tell. If you shot outside during a sunny day, for example, but wanted a moody portrait, try replacing the sky with a darker one filled with storm clouds. Or if you’re missing that perfect prop to tie everything together, find a stock photo of it online and edit into your image to complete the story.

Hungry for more? Dive into self-portraiture with insights from SmugMug pros and Ambassadors, and exclusive SmugMug perks (make sure you’re logged in to your account for perks). Explore the nature of self-portrait art with Lizzy Gadd, learn compositing from Renee Robyn, and unlock discounts on resources to fuel your creative journey.
_______
Remember, the art of self-portraiture is where you tell your story—unique, personal, and undeniably you. We hope these tips help you capture the essence of your one-of-a-kind self. Happy shooting!
The latest and greatest from the Development Lab and beyond.